Subscribe Rocket can push every one-tap subscriber straight into ConvertKit - now rebranded as Kit - the moment they sign up. You'll see it listed as Kit inside the Subscribe Rocket dashboard; here's the full setup, start to finish.
Step 1: Log in to your ConvertKit (Kit) account
Go to Kit Login and sign in.
Step 2: Find your API keys section
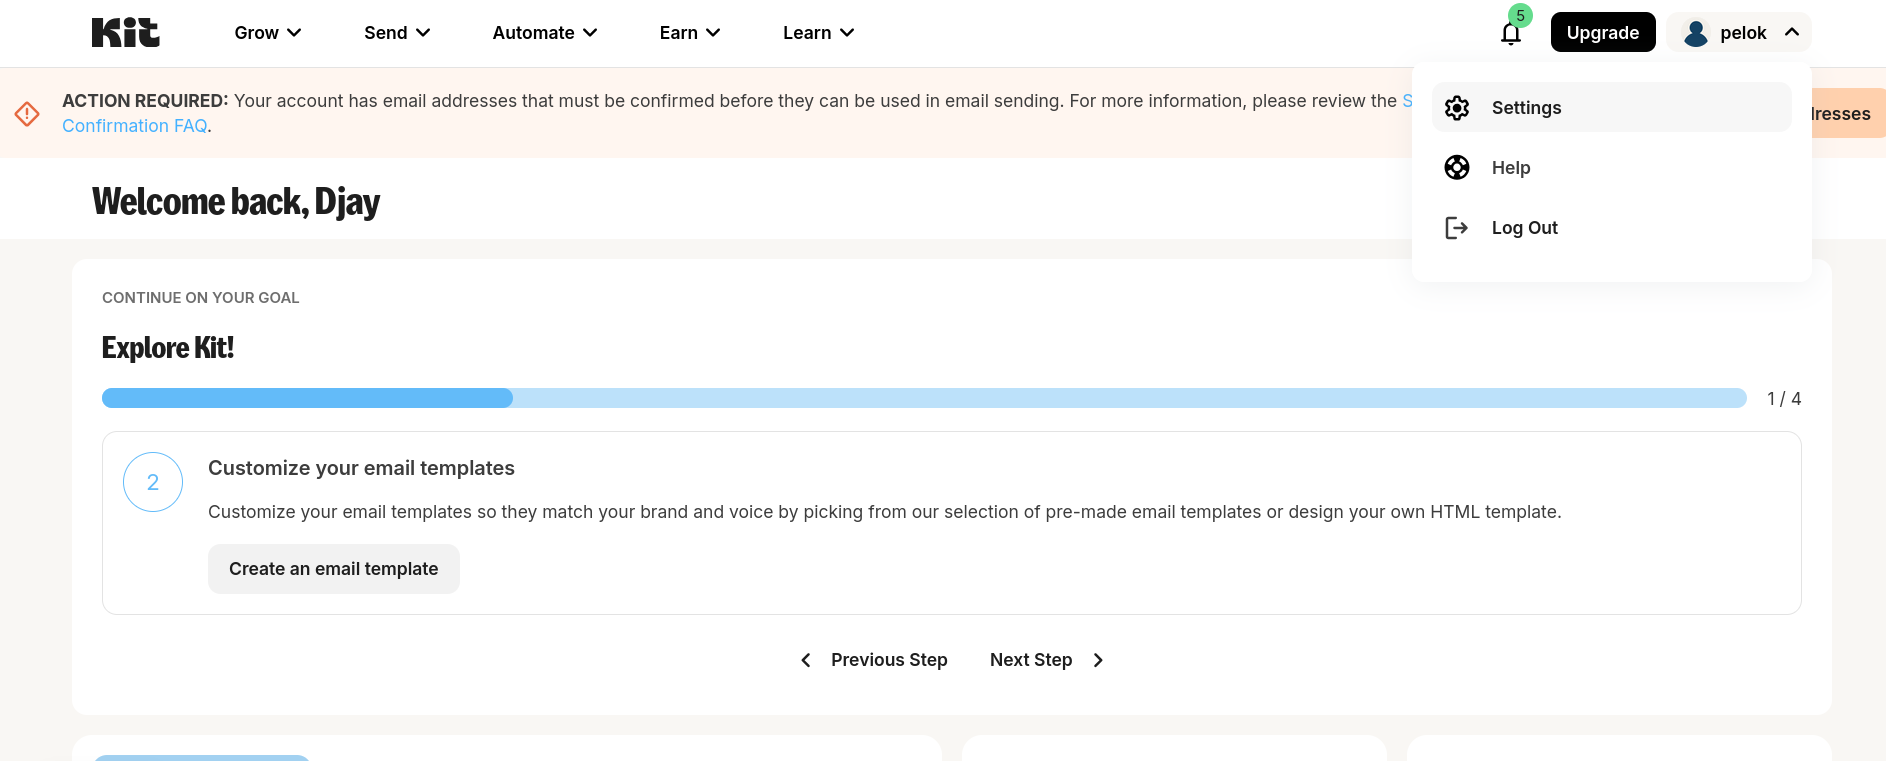
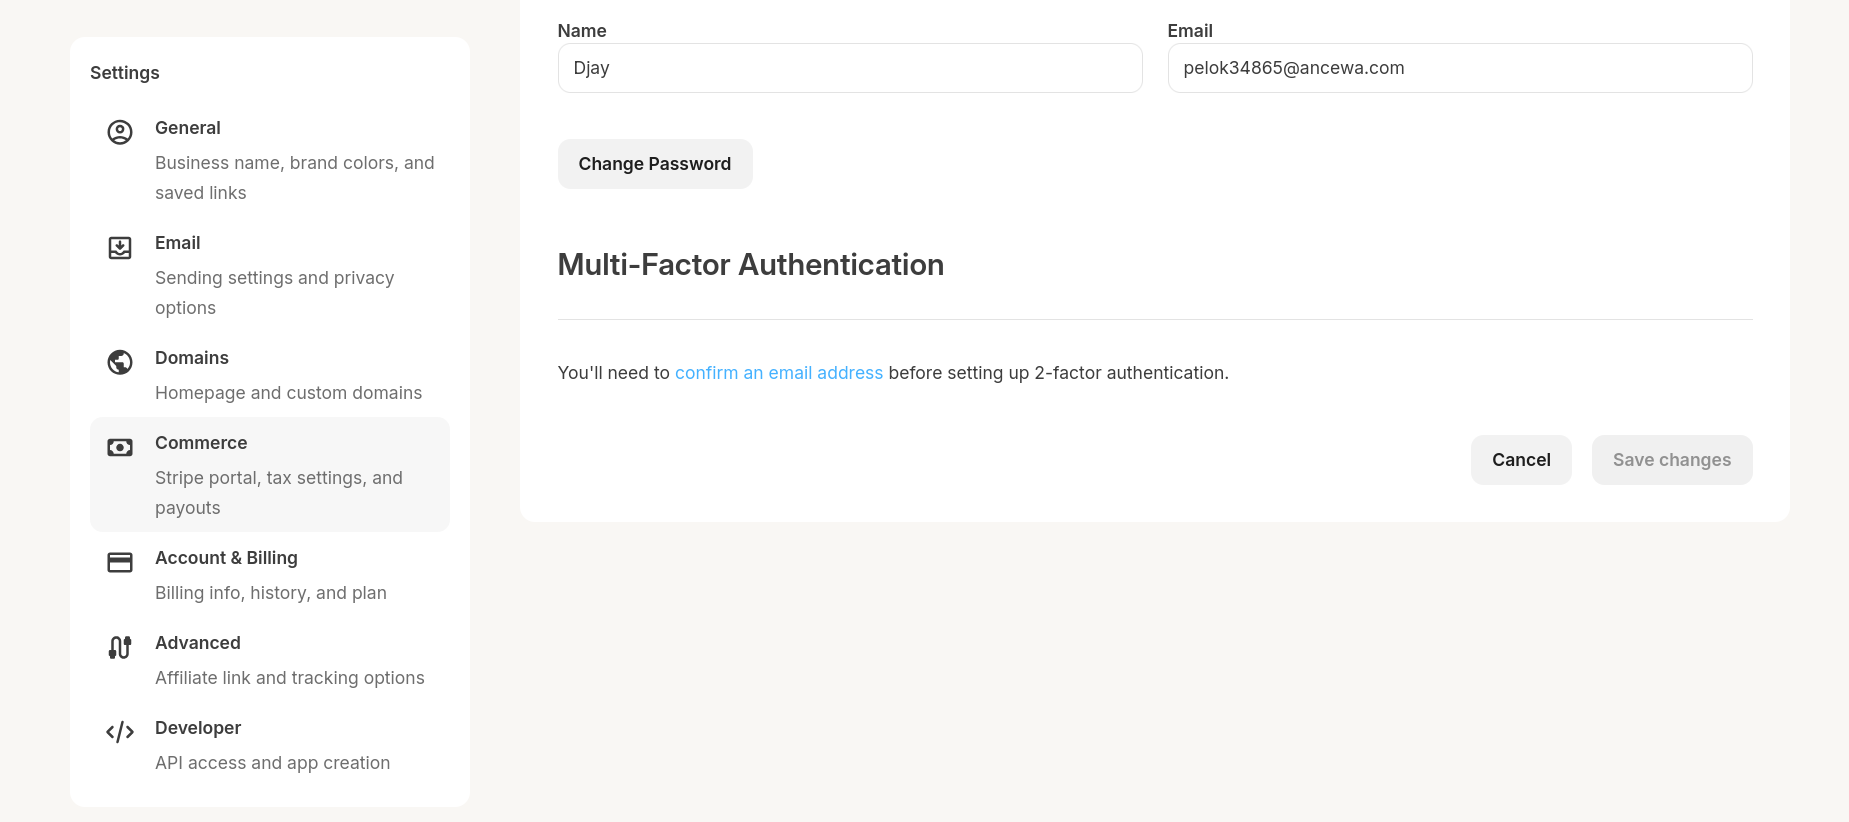
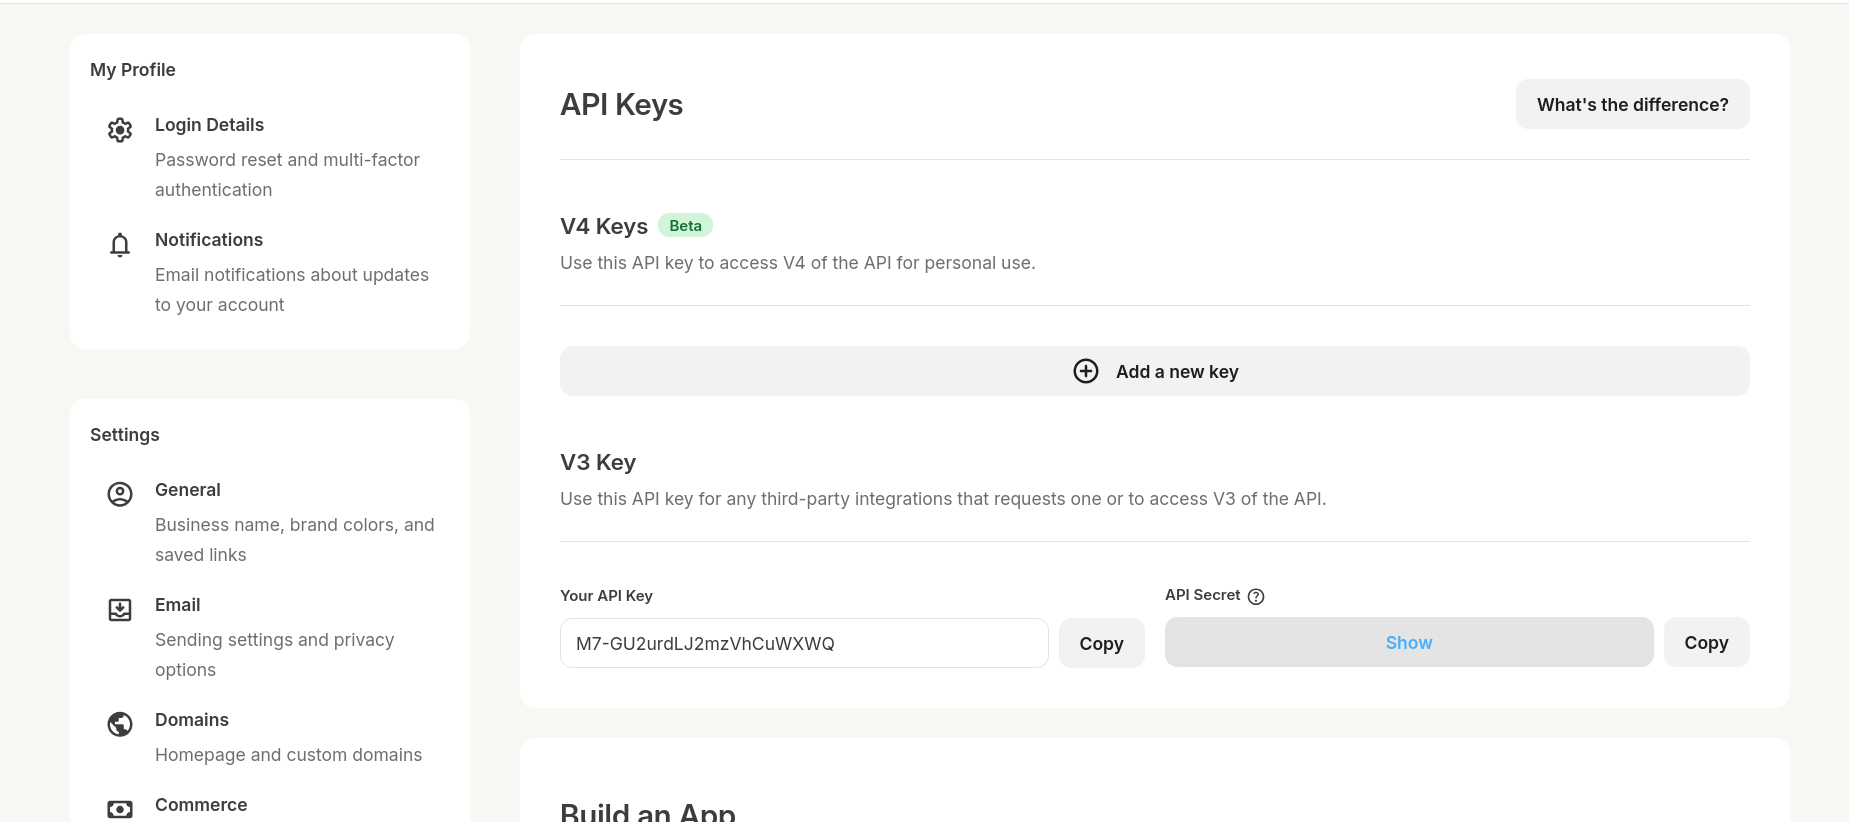
In your Kit dashboard, open Settings and click into the Developers tab. You'll see the API keys section as shown below.
Step 3: Create a new V4 API key and copy it
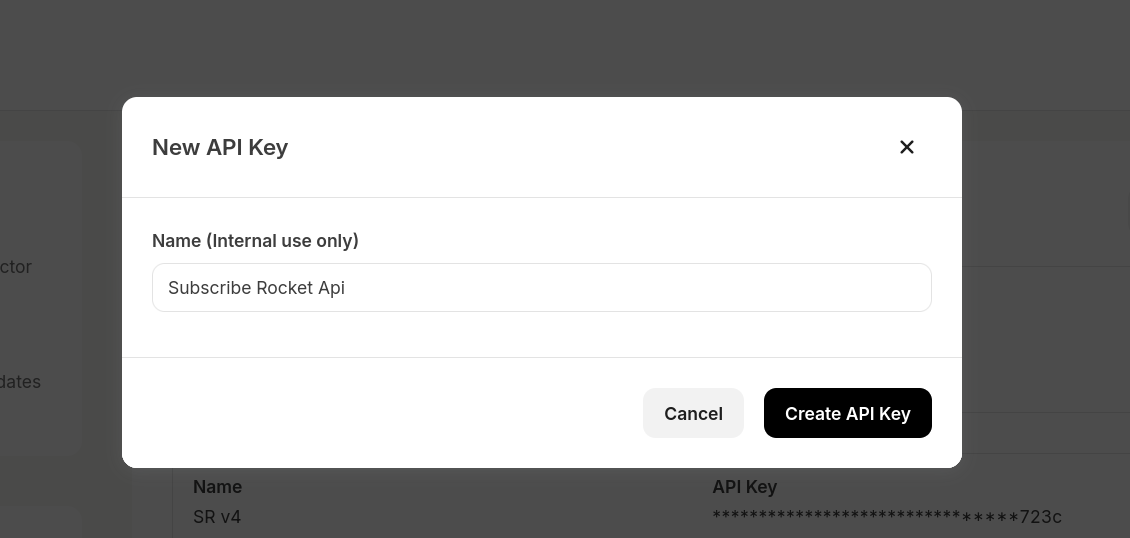
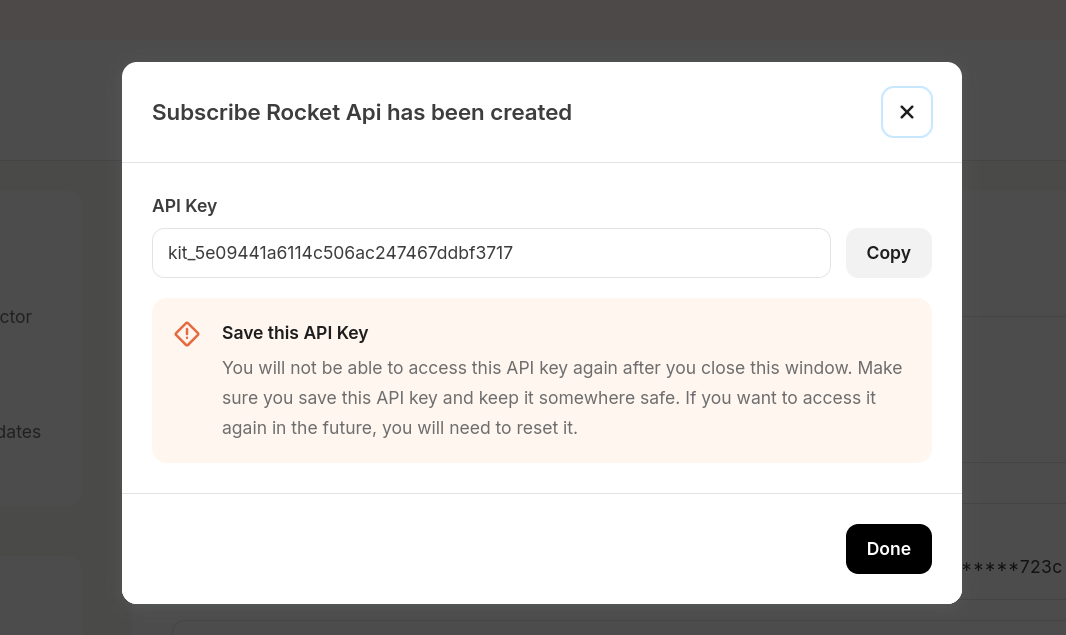
In the V4 keys section, click Add a new key. Enter "Subscribe Rocket" as the name and click Generate key. Copy the key that appears before you click "Done".
Step 4: Paste the key into Subscribe Rocket
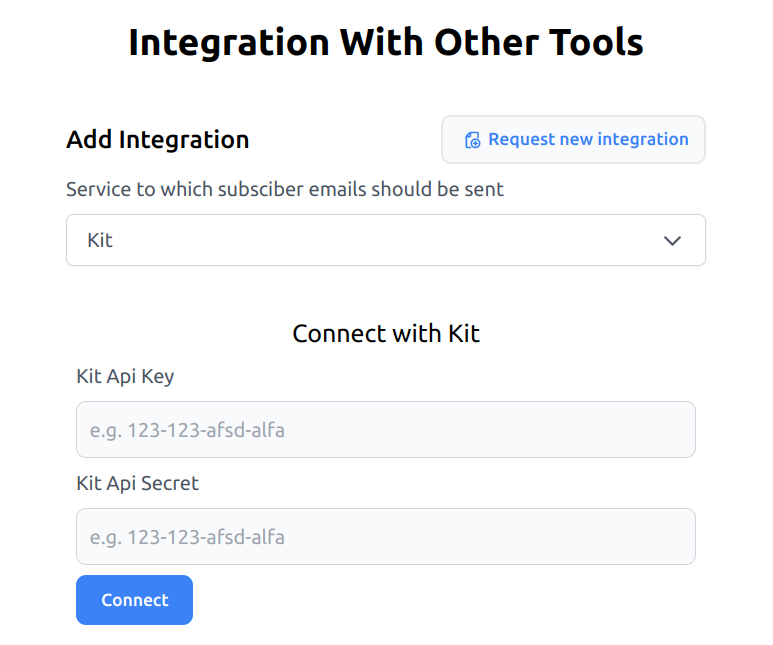
Open your Subscribe Rocket dashboard and select Integrations from the side menu. Choose Kit from the dropdown, paste the key you copied, and click "Connect".
Step 5: Pick a sequence, tag or form and you're done
Choose the Sequence you want incoming subscribers added to - you can also select Tags and Forms. Click Save changes to connect. You can change any of these later from the "Setup" button on your Integrations dashboard.
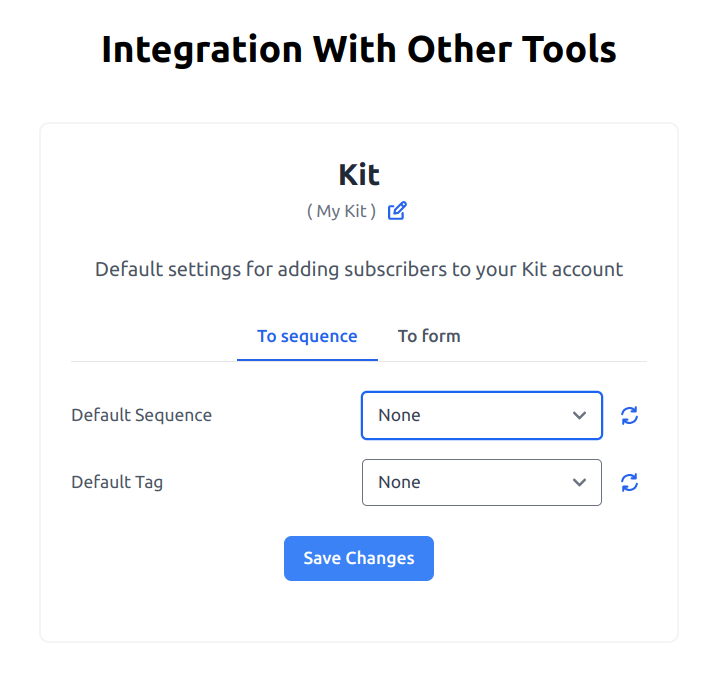
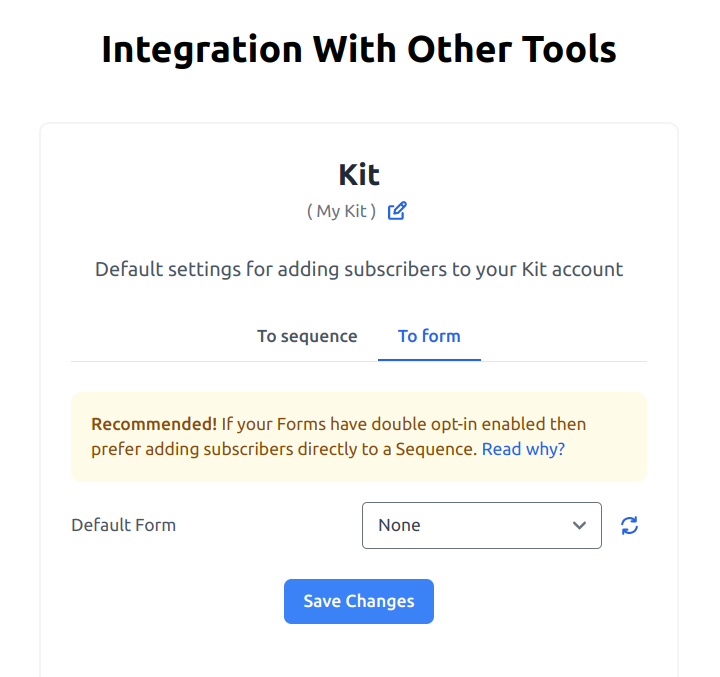
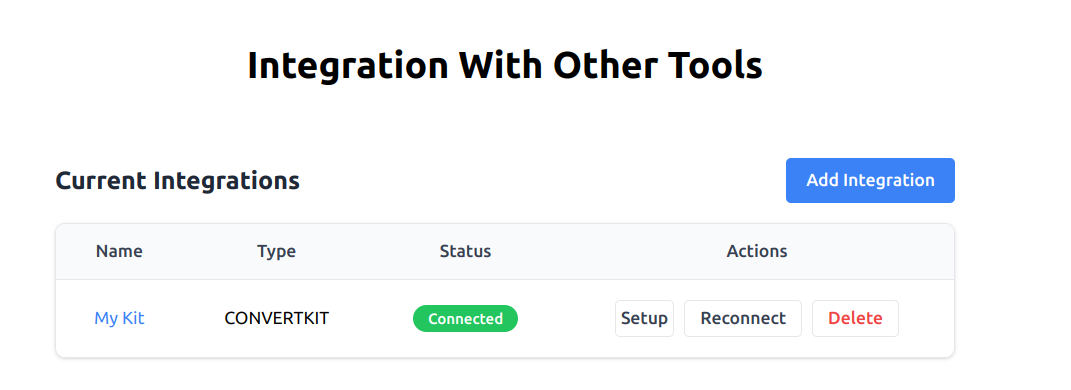
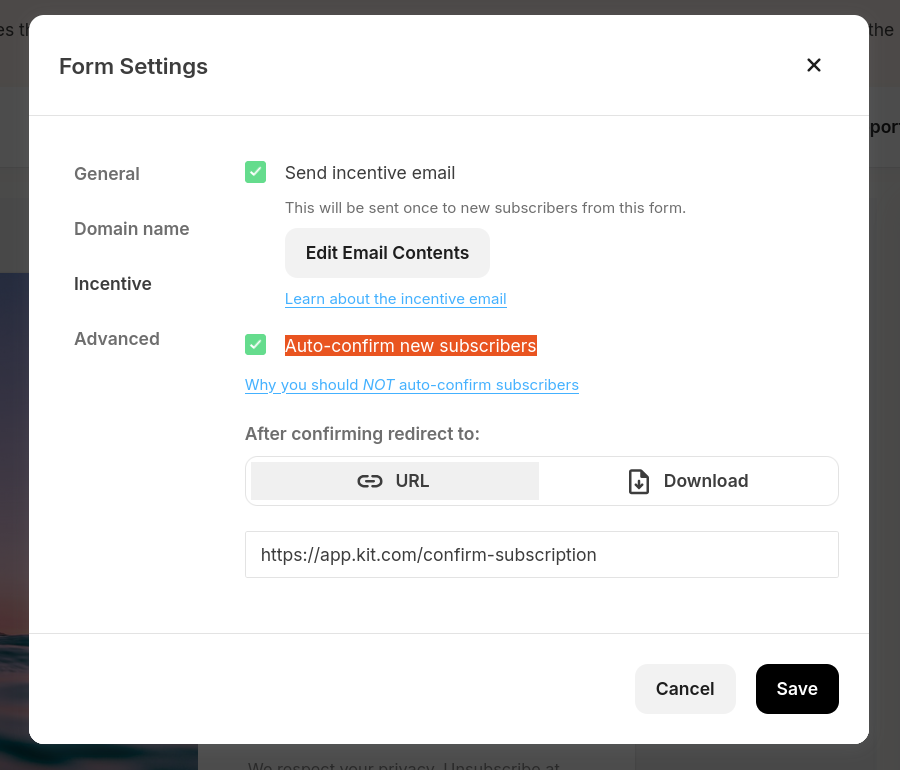
We send pre-verified subscribers to Kit, but if a Form on Kit has double opt-in switched on, Kit will still email even these pre-confirmed subscribers to ask them to confirm again - Kit is aware of this and working on it. Until it's fixed, the recommended path is to send subscribers directly to a Kit Sequence in Step 5 above, or to create a new Kit Form with "Auto confirm" turned on in its settings.
That's it - every one-tap subscriber from your site now lands in Kit automatically, fully verified, with no typing required on their end. If you haven't set up the button itself yet, the pricing page covers every plan, all with a 7-day free trial.